
Geofence Management
Setting up location radii, virtual perimeters, and automated zone boundary check-ins.
Overview
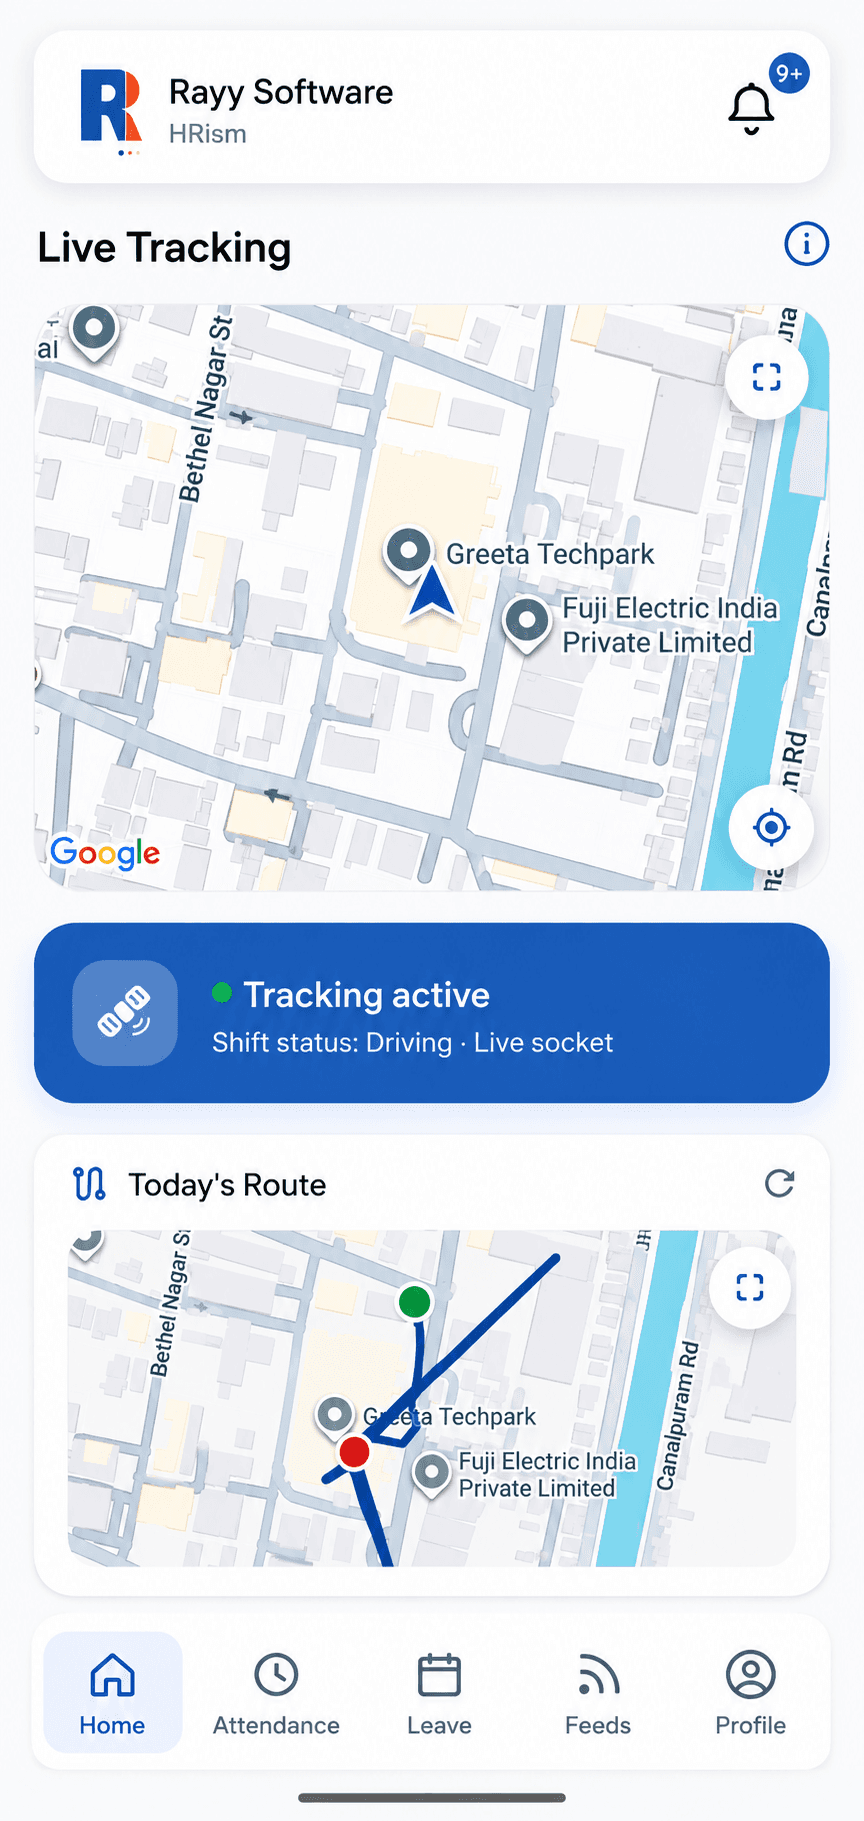
Geofences allow administrators to draw radius or polygon boundaries around physical job sites. When employees arrive at or leave these zones, HRism logs automated entry/exit events to ensure work site location compliance.
How It Works
Admins define a location center point and radius (e.g. 100m). When employees check in, the system compares their current GPS coordinates against assigned geofence boundaries to validate attendance authenticity.
Define Zone
SetupAdmin sets location pin and boundary radius.
Assign Roster
AssignLink departments or employees to geofence zone.
Arrive at Site
ArriveEmployee reaches physical office perimeter.
Check In Match
ValidateHRism validates GPS coordinates within zone.
Automated Log
LoggedSystem records verified inside-zone attendance.
Step-by-Step Instructions
Access Admin Geofence Settings
Navigate to Admin Console -> GPS & Location -> Geofences.
Select Job Site Location
Enter office address or drop a marker pin on the interactive map.
Set Radius Boundary (meters)
Adjust the circular radius slider (e.g. 50m, 100m, 250m) around your site.
Assign Department Rosters
Select which employee teams or branch departments belong to this geofence.
Save & Enable Zone
Click Save. The geofence perimeter is activated immediately for all assigned staff.
Important Information
Out-of-Zone Check-Ins
Check-ins attempted outside the geofence boundary will prompt the user to request remote WFH mode or flag manager review.
GPS Accuracy
Tall buildings or indoor areas can degrade GPS fix accuracy. A minimum radius of 100 meters is recommended.